Cardiopulmonary resuscitation, commonly known as CPR, is a critical emergency procedure performed when someone’s heart stops beating or they stop breathing. This lifesaving intervention helps keep oxygen-rich blood flowing to vital organs—especially the brain—until professional medical help arrives.
In emergencies like sudden cardiac arrest or near-drowning incidents, knowing how to perform CPR can make the difference between life and death.
Who Should Perform CPR?
The American Heart Association (AHA) encourages everyone to learn CPR. Even if you're not trained, performing chest compressions alone can help save a life. Here’s a quick breakdown:
-
No training: Perform hands-only CPR—just compressions.
-
Trained and confident: Perform both compressions and rescue breaths.
-
Trained but unsure: Stick with chest compressions until help arrives.
This guidance applies to adults, children, and infants (but not newborns under 4 weeks).
When Should CPR Be Given?
CPR is needed when a person is unresponsive and not breathing normally. This may occur after events like:
-
Heart attack
-
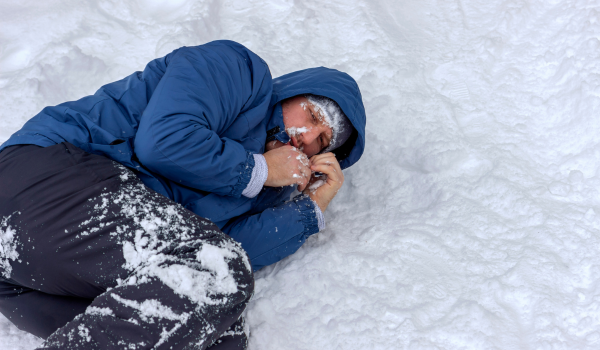
Drowning
-
Electrocution
-
Severe trauma
Before you begin CPR, follow these critical first steps:
-
Ensure the area is safe for you and the victim.
-
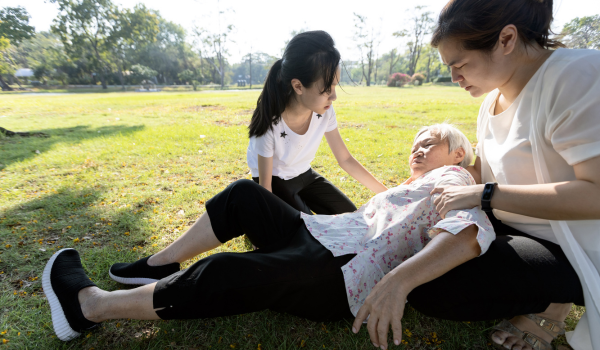
Check responsiveness by tapping the person and loudly asking, “Are you OK?”
-
Call emergency services (911 or local emergency number).
-
Get an AED (automated external defibrillator) if available.
If you’re alone and have a phone nearby, call for help before beginning CPR.
The C-A-B Method: Compressions, Airway, Breathing
To simplify the CPR process, the AHA uses the acronym C-A-B:
-
C = Compressions: Restore blood circulation
-
A = Airway: Open the airway
-
B = Breathing: Provide rescue breaths
Let’s break down each step.
1. Chest Compressions: Pump the Heart
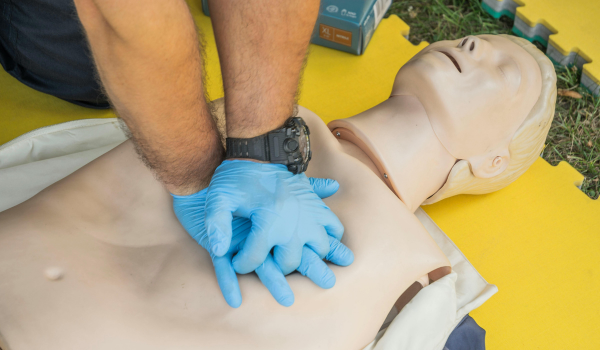
Chest compressions are the cornerstone of CPR. Here’s how to do them correctly:
For Adults and Children:
-
Place the person flat on their back on a firm surface.
-
Position yourself beside them and kneel.
-
Place the heel of one hand on the center of their chest (between the nipples).
-
Place your other hand on top and interlock your fingers.
-
Keep your arms straight and shoulders directly over your hands.
-
Push down hard and fast—about 2 to 2.4 inches deep.
-
Perform 100 to 120 compressions per minute, allowing the chest to rise fully between compressions.
Tip: Use the beat of a song like “Stayin’ Alive” to maintain rhythm.
If you're untrained, keep doing compressions until emergency help arrives or the person shows signs of life.
2. Airway: Open the Passage for Breathing
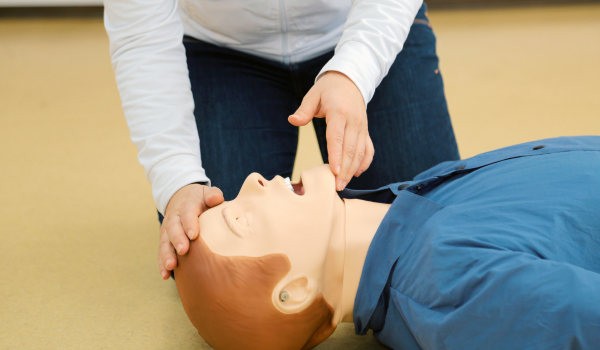
After 30 compressions, if trained, proceed to open the airway:
-
Place one hand on the person’s forehead.
-
Tilt the head back gently.
-
Use your other hand to lift the chin forward.
This is known as the head-tilt, chin-lift maneuver and helps prepare for rescue breathing.
3. Breathing: Deliver Rescue Breaths
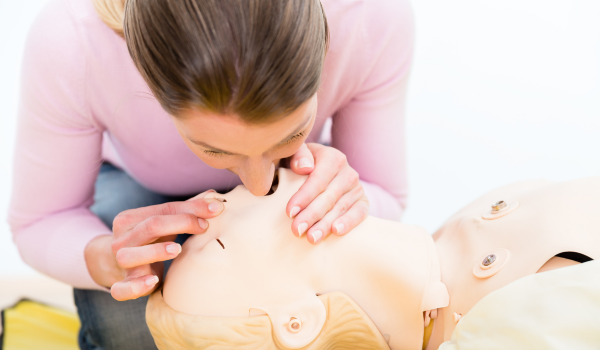
With the airway open:
-
Pinch the person’s nose shut.
-
Cover their mouth with yours to form a seal.
-
Give 2 rescue breaths, each lasting about 1 second.
-
Watch for the chest to rise. If it doesn’t, adjust the head and try again.
Repeat the cycle: 30 compressions + 2 breaths.
Using an AED (Automated External Defibrillator)
As soon as an AED is available:
-
Turn it on and follow voice instructions.
-
Attach the pads as directed.
-
Let the device analyze the heart rhythm.
-
Deliver a shock if advised.
-
Resume CPR immediately after the shock.
Continue cycles of CPR until help arrives or the person starts to move.
CPR for Children (1 Year to Puberty)
The CPR process for children mirrors that of adults, with slight modifications:
If alone:
-
Unwitnessed collapse: Start CPR for 2 minutes, then call emergency services.
-
Witnessed collapse: Call for help first, then start CPR.
Compressions:
-
Place one or two hands (depending on the child’s size) on the center of the chest.
-
Push down about 2 inches deep.
-
Maintain a rate of 100 to 120 compressions per minute.
Airway and Breathing:
-
Use the head-tilt, chin-lift technique.
-
Give 2 gentle breaths after 30 compressions.
-
Watch for chest rise.
If two rescuers are present, switch every 2 minutes to avoid fatigue. Continue until help arrives.
CPR for Infants (4 Weeks to 12 Months)
For babies older than 4 weeks, CPR is slightly different and must be gentler.
Step 1: Check for Responsiveness
-
Gently tap the baby’s foot or shoulder.
-
Don’t shake the baby.
Step 2: Call for Help
-
If alone, start CPR for 2 minutes before calling emergency services.
-
If someone is with you, have them call and get the AED.
Step 3: Chest Compressions
-
Lay the baby on a firm surface.
-
Use two fingers in the center of the chest, just below the nipple line.
-
Press down about 1.5 inches (4 cm).
-
Perform 100 to 120 compressions per minute.
Step 4: Airway
-
Use the head-tilt, chin-lift method to open the airway.
Step 5: Breathing
-
Cover both the baby’s mouth and nose with your mouth.
-
Use your cheeks, not lungs, to deliver two gentle breaths.
-
Watch for chest movement.
Repeat the cycle: 30 compressions + 2 gentle puffs.
If the baby doesn’t respond, continue until medical help arrives or the baby shows signs of life.
Why CPR Matters
Without CPR, a person’s brain can suffer irreversible damage in minutes. Immediate chest compressions help sustain vital blood flow and increase the chances of survival and recovery.
Whether it’s a loved one, a coworker, or a stranger, knowing how to perform CPR can empower you to act confidently in emergencies.
Learn CPR Today
To ensure you're prepared, consider enrolling in an accredited CPR and first aid training program. Many courses also include AED training and offer certification upon completion.
Remember: even if you're unsure, doing something is better than doing nothing.


.png)